1. Clean the Sample Surface
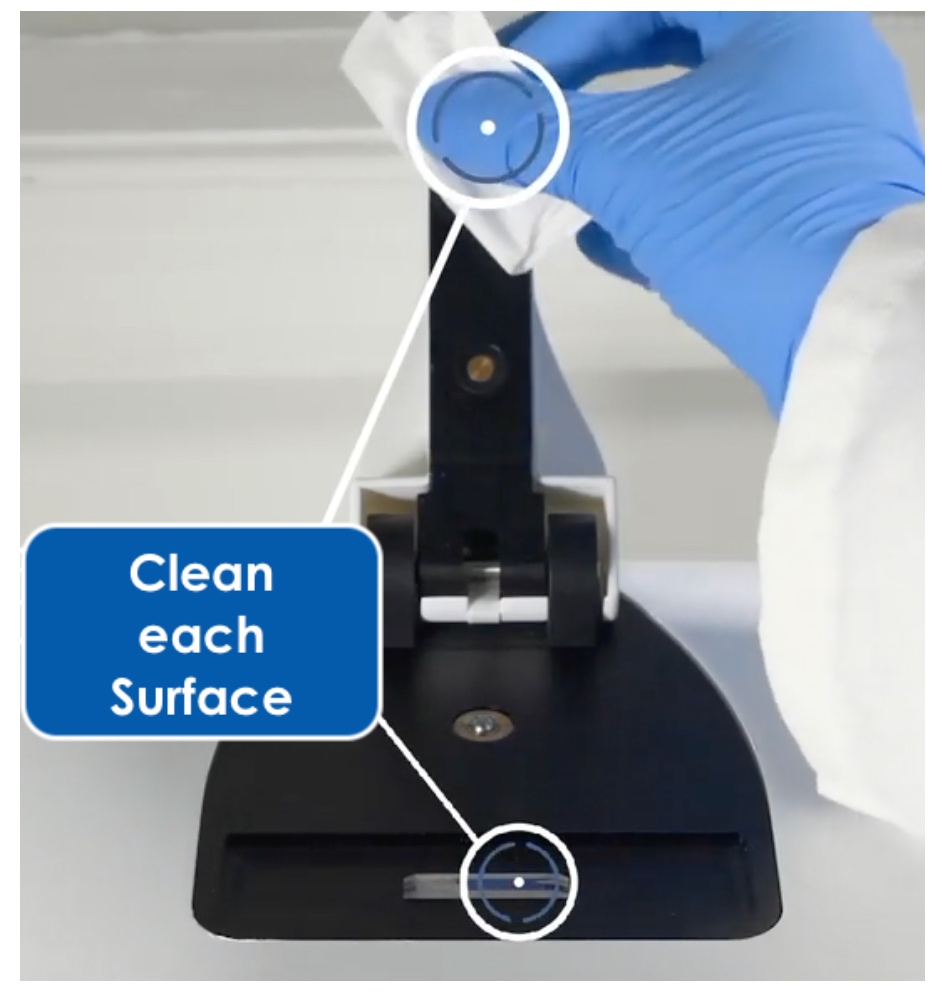
For every cell counting method, the sample surface must be clean. Any contamination can lead to inaccurate results. Manual cell counting involves removing and cleaning the glass coverslip, and cleaning the counting chambers with 70% ethanol and then water. A new slide is required for each sample (or pair of samples if the slide has two chambers) when using disposable plastic slides.
With CellDrop Series instruments, the chamber is formed between two optical-grade sapphire surfaces parallel to one another. The sample is pipetted between the surfaces and is held in place by surface tension. To clean the surface, simply wipe it with a dry laboratory wipe.
For additional cleaning, flush the chamber with 15 µL of 70% ethanol or 10% bleach. After loading, let the solution sit for ~10 seconds before cleaning the surfaces with a dry laboratory wipe.
2. Mix Immediately Before Loading
Mixing immediately before loading the sample is essential in ensuring the assayed sample is representative.
Cells of different sizes and types will settle and aggregate at differing rates. Mixing the solution immediately before loading the sample increases the probability that the aliquot will be homogenous and accurately reflect the properties of the cell culture.
3. Minimize Cell Clumping
Cell counting requires the analysis of a small sample of the whole stock solution, so care must be taken to ensure that the sample is representative of the original stock culture. While cell counters like the CellDrop apply algorithms to identify cells within clumps, they cannot correct for a non-representative sample. When manually counting, clumps are scored more subjectively than individual cells, increasing user-to-user variability.
Extracellular DNA and cell debris following cell lysis are common causes of clumping. Cell lysis may result from overgrowth, mechanical shearing through excessive pipetting, freeze/thaw cycles, and under- or over-digestion with trypsin can also lead to heterogeneous samples. By avoiding the causes of cell lysis and filtering samples for cell debris, cell clumps can be reduced.
4. Optimize Settings
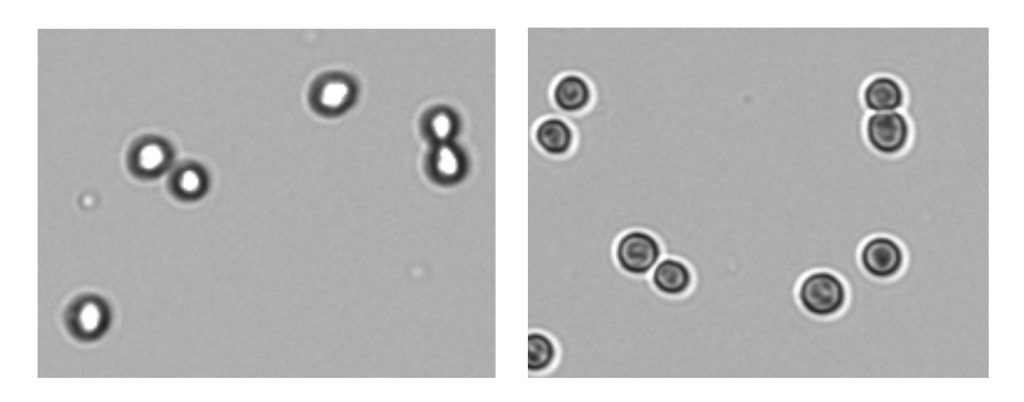
Whether counting by hand or relying on software algorithms, it is important to adjust the focus and exposure settings to ensure the best possible visibility of cells for the most accurate results.
The optimal focus and exposure will show a sharp contrast between the cell membrane and the background.
The ability to individually optimize each fluorescence channel for fluorescence applications will produce the most reproducible results. Fluorescence intensities should be set to ensure that the cells are as bright as possible while remaining their actual size. No light should bleed over the edges of the cells.


5. Use an Appropriate Chamber Height
There is a range of hemocytometers available varying in depth and grid design. Take care that the correct details are used in calculations to avoid errors.
The CellDrop has a unique feature that allows for a wider range of cell density than other slide-based counters. The loading chamber height can be software adjusted to accommodate the widest cell density and size range. On-screen guidance is given to ensure optimal height and calculations are automatically adjusted.
6. Adjust Counting Parameters
Most automated cell counters include settings that can be adjusted to best match the cells under study. For example, cell size ranges can be set and saved to exclude debris or other cell populations from analysis.
Settings to define cell shape are also available. In the case of the CellDrop, settings can be adjusted before or after the cells have been counted, and the data will be reanalyzed according to the new parameters.
7. Choosing Brightfield or Fluorescence
Brightfield analysis can be effective for counting cultured mammalian cells. However, it can be difficult to distinguish between live and dead cells using Trypan Blue, and for many primary cells, fluorescence is required.
For example, peripheral blood mononuclear cells (PBMCs) are usually mixed with large numbers of red blood cells (RBCs) that may show up as “dead” using brightfield analysis. However, with dyes like Acridine Orange (AO) and Propidium Iodide (PI), it is possible to stain only nucleated PBMCs and distinguish live from dead by using dual fluorescence capabilities.
AO and PI both stain nucleic acids, but only AO can cross live cell membranes. As a result, live PBMCs are stained with AO and fluoresce green, dead PBMCs are stained with both AO and PI and fluoresce red. RBCs are unstained and do not fluoresce at all.
Summary
Following these tips will help to improve cell counting accuracy and reproducibility. For more information watch the webinar below or contact the DeNovix applications team.
30-NOV-2022


